
How to Add a Blog Post on Your Squarespace Website
Follow this guide to add a blog post to your Squarespace website.
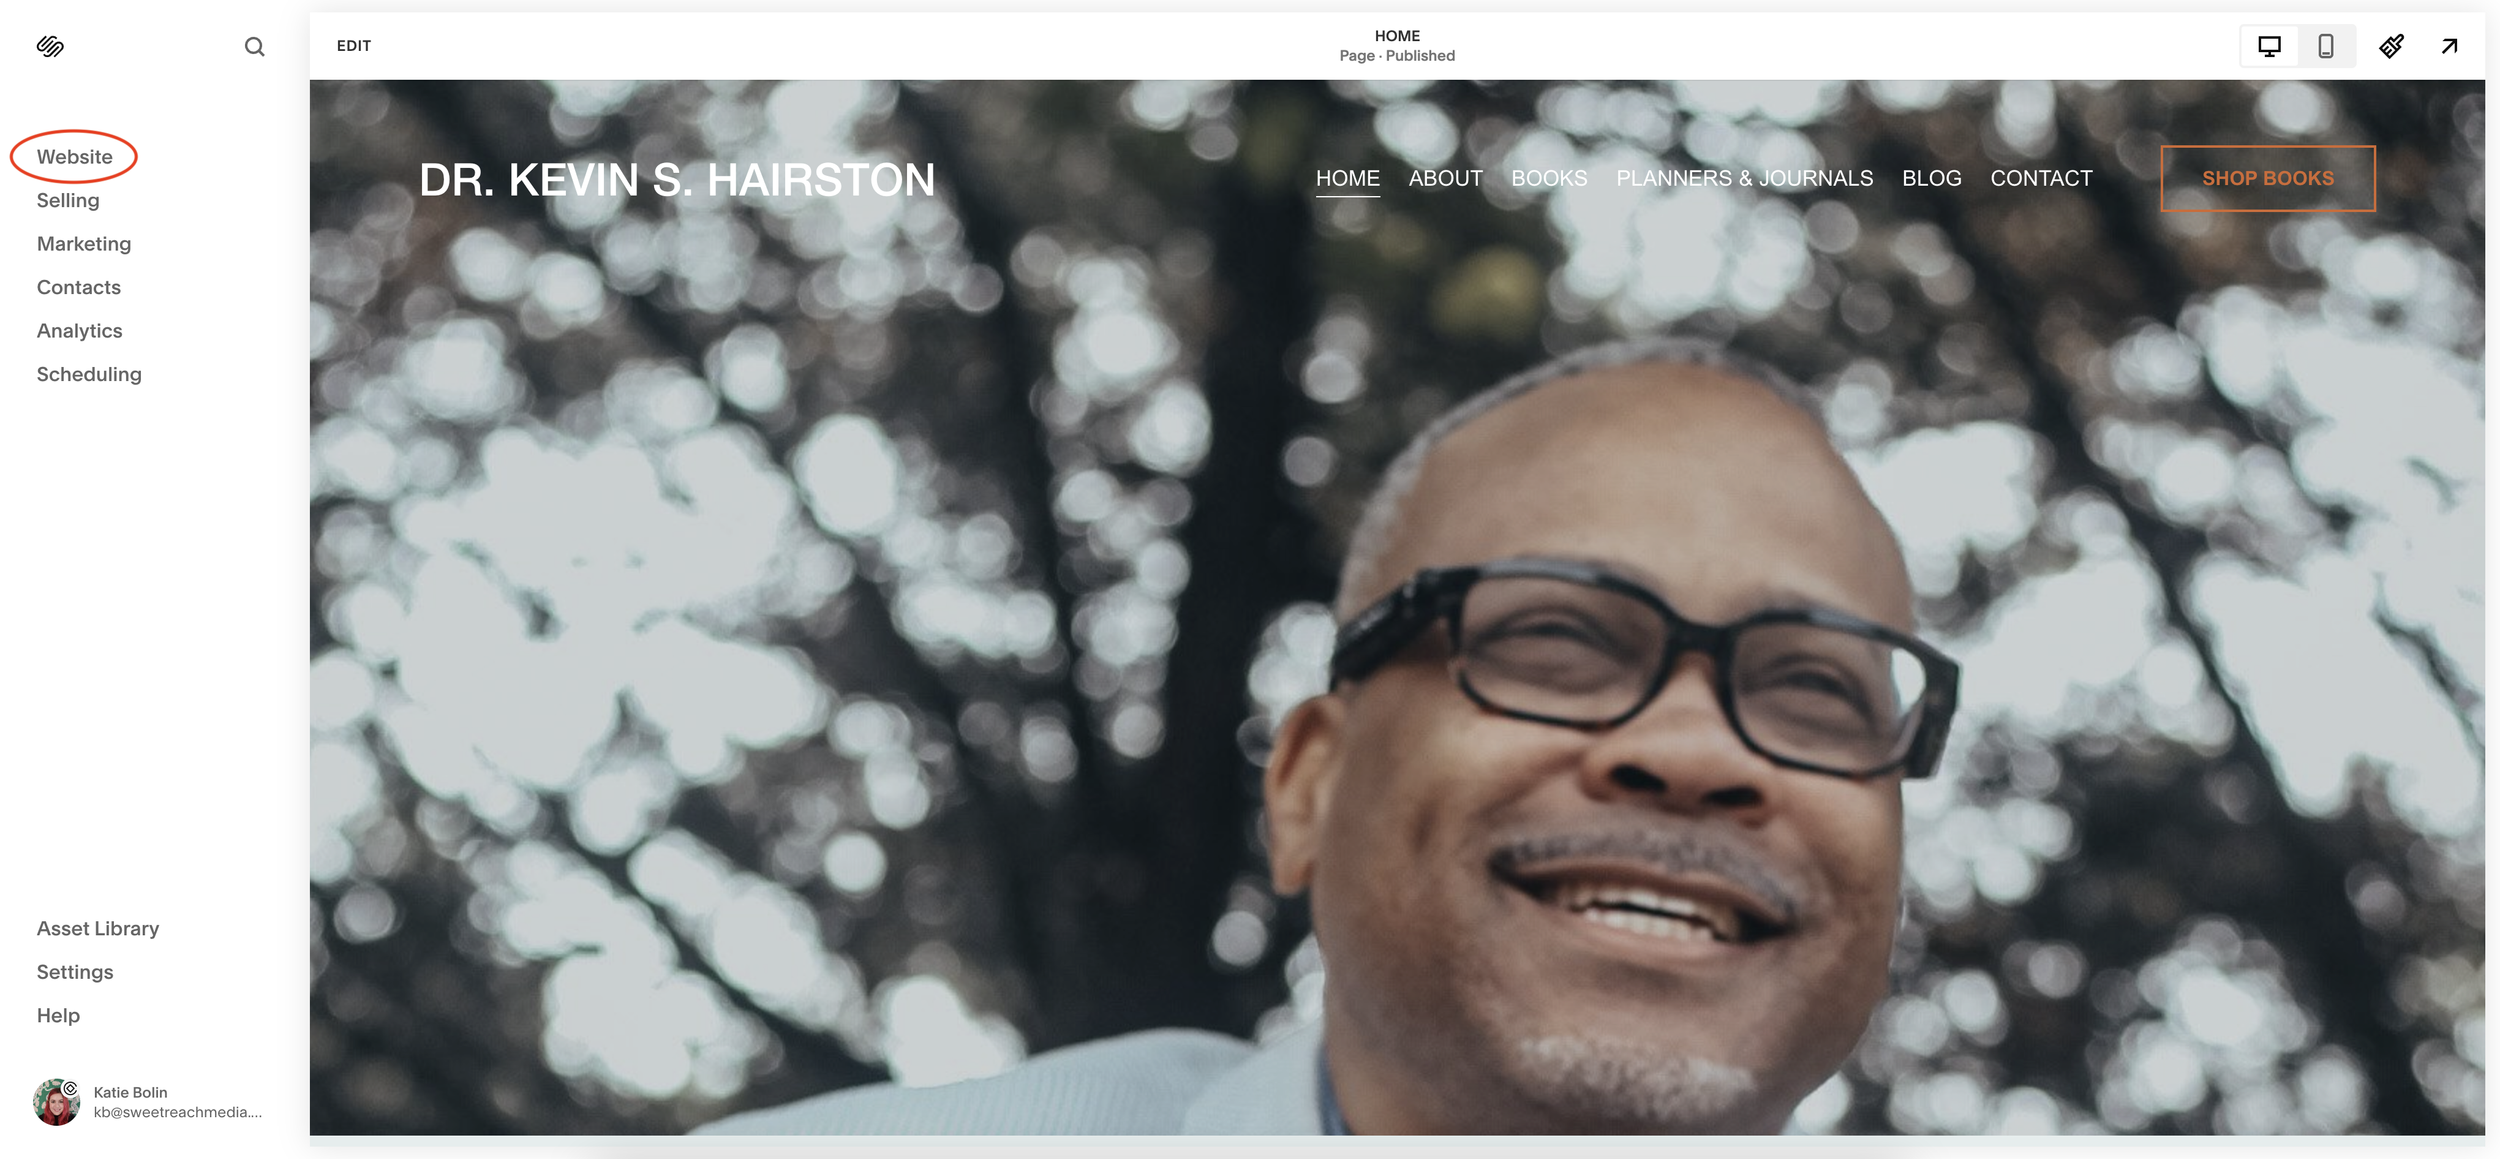
Navigate to your website’s pages
Go to your Squarespace website dashboard and click Website on the lefthand side.

2. Open your blog
Scroll down and click through to the Blog page.
3. Add a blog post
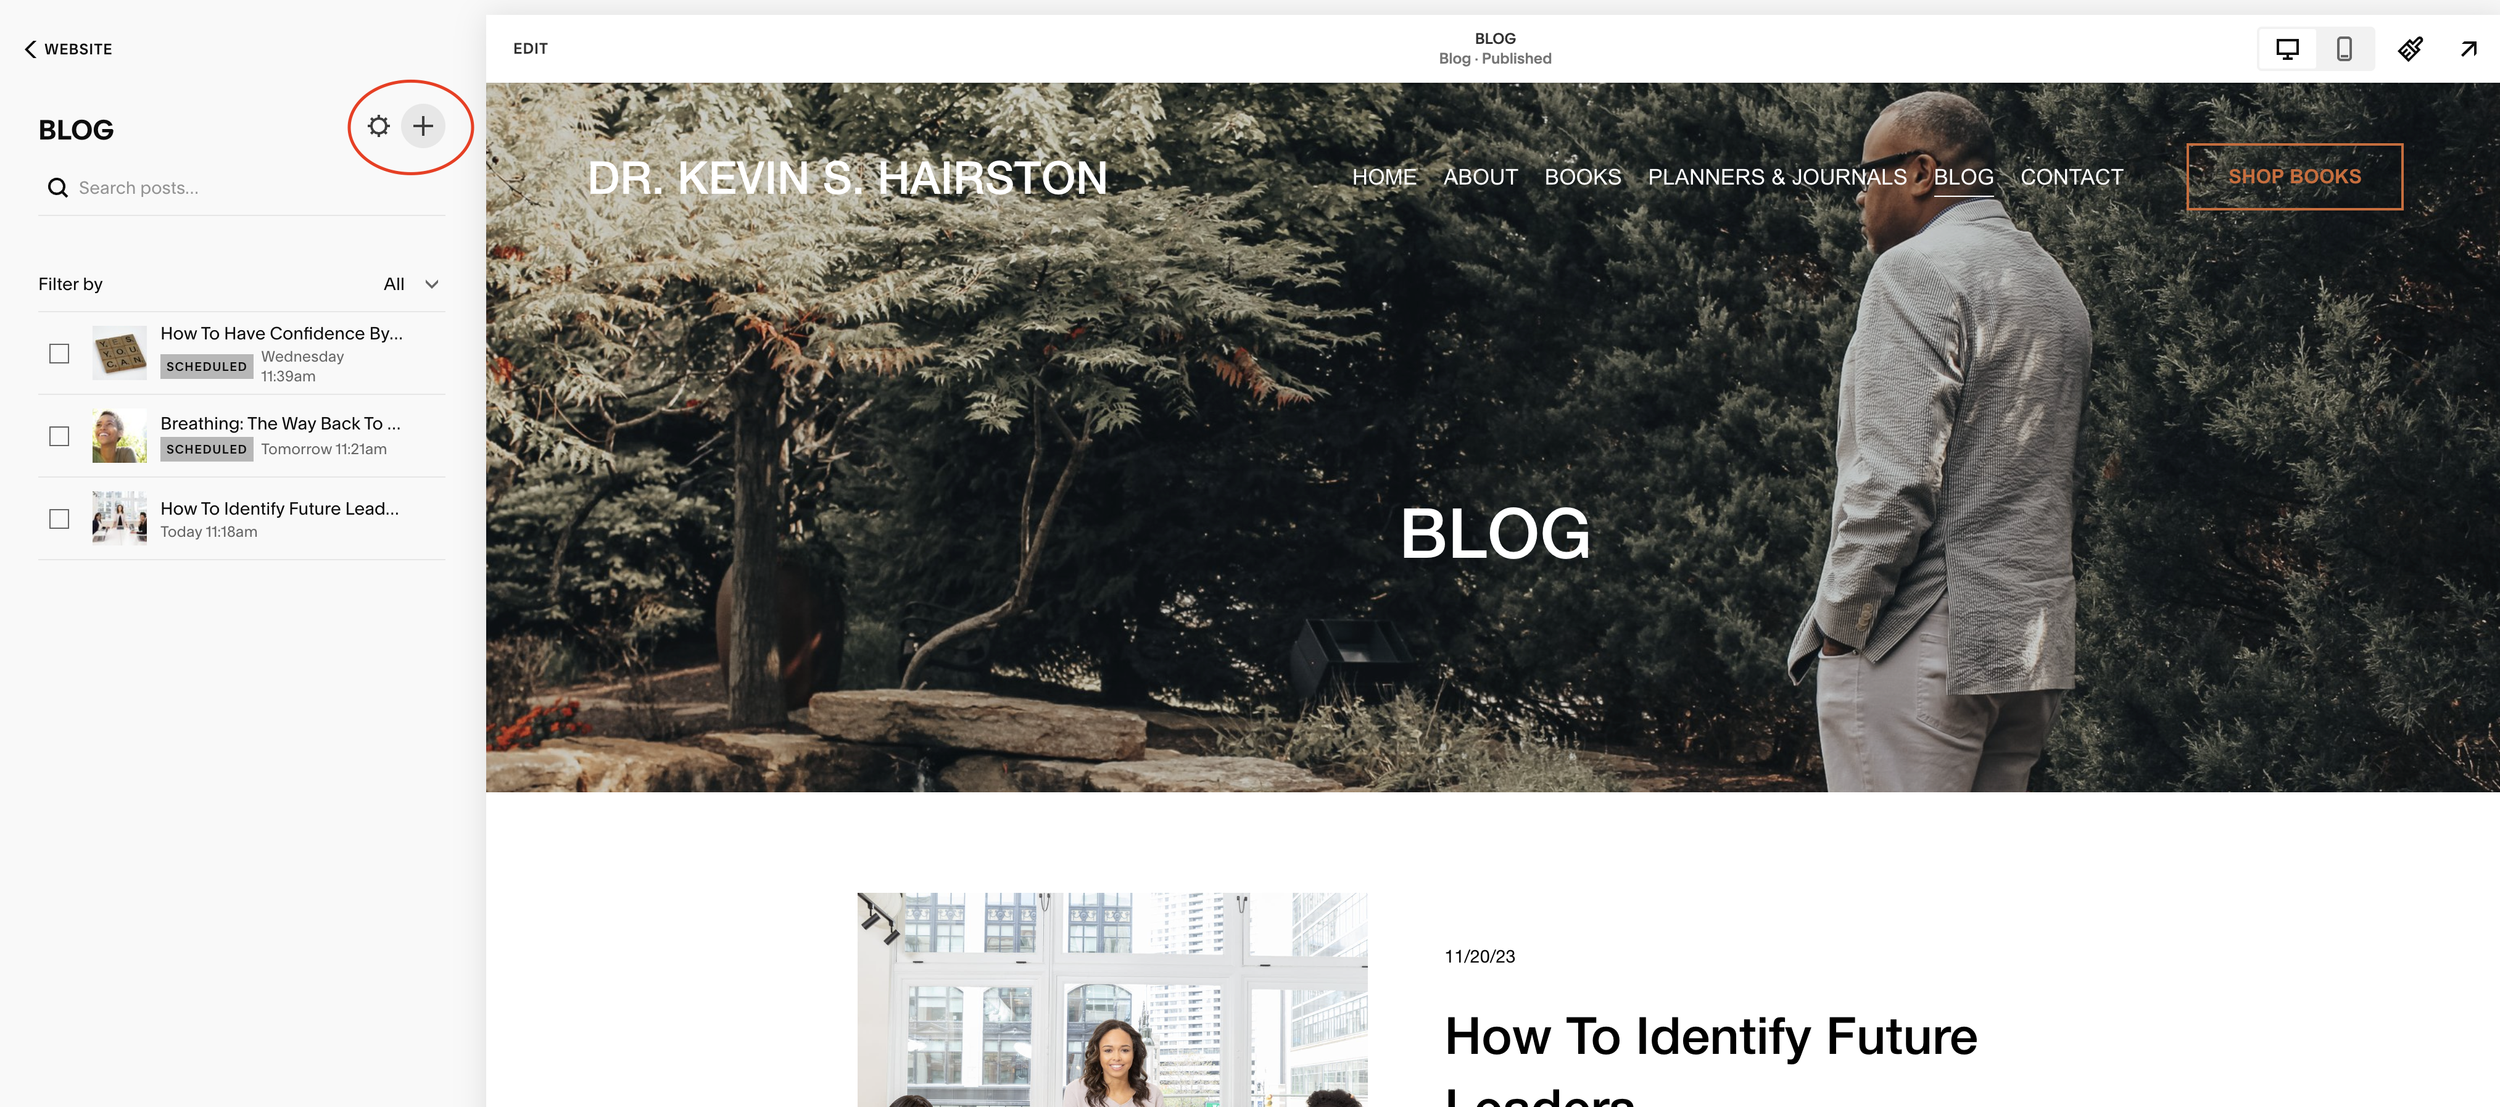
Click the plus + sign next to Blog to add a new blog post. This will open up the blog post editor automatically.
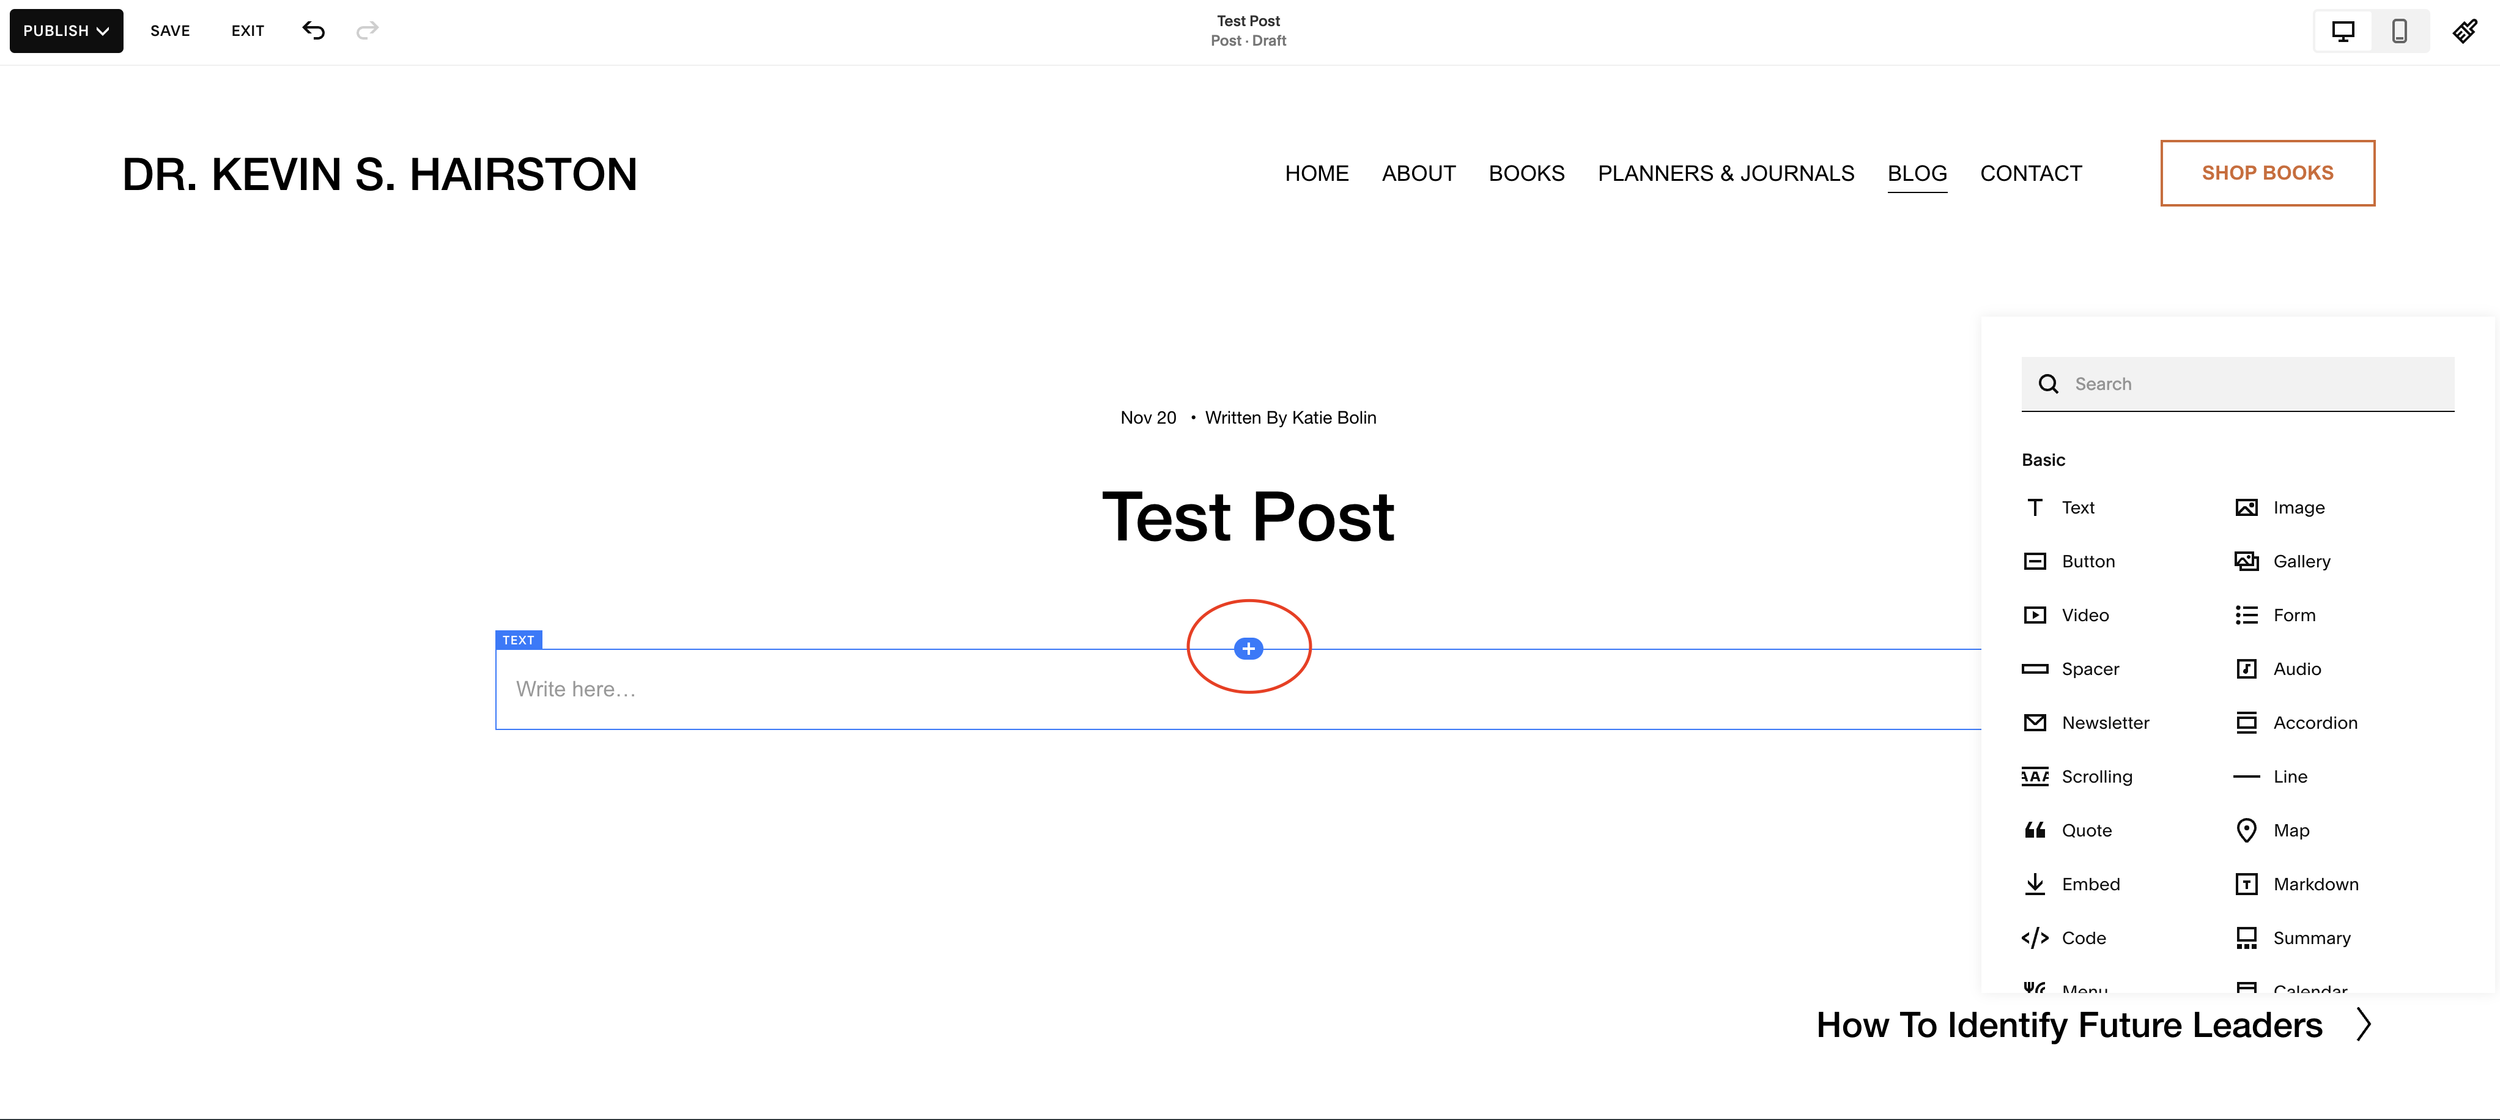
4. Add title and text

Enter your post title and blog text.
Hover your mouse over the editor until a blue plus sign pops up. This is indicating a space where you can add an image, button, or other element.
Click on the blue plus sign to open up your element options.
Click Save in the top hand corner when you’ve finished editing the post.

5. Add featured image

You’ll want to add a featured image to your blog post. This is the image that shows up on your main blog page when the post is published.
Simply adding a photo in the blog post itself won’t set it as the featured image for the post.
Click on the gear icon next to your blog post and click Settings.
This will open up your Blog Post Settings. Here, you’ll be able to upload a featured image, write an excerpt for your post, edit the Post URL, and more.

You can also edit the posts SEO settings here, which are the headline and description that you see on search results on Google.
The Social Image is another great one to update. This is the preview image for your post when someone shares a link to your post on Facebook, LinkedIn, Twitter, Reddit, and more.
Under Options, you can edit the post’s settings, publish, schedule, or switch to draft, choose the publishing date (you can change this to any date in the past), and more.
6. Publish or schedule your post
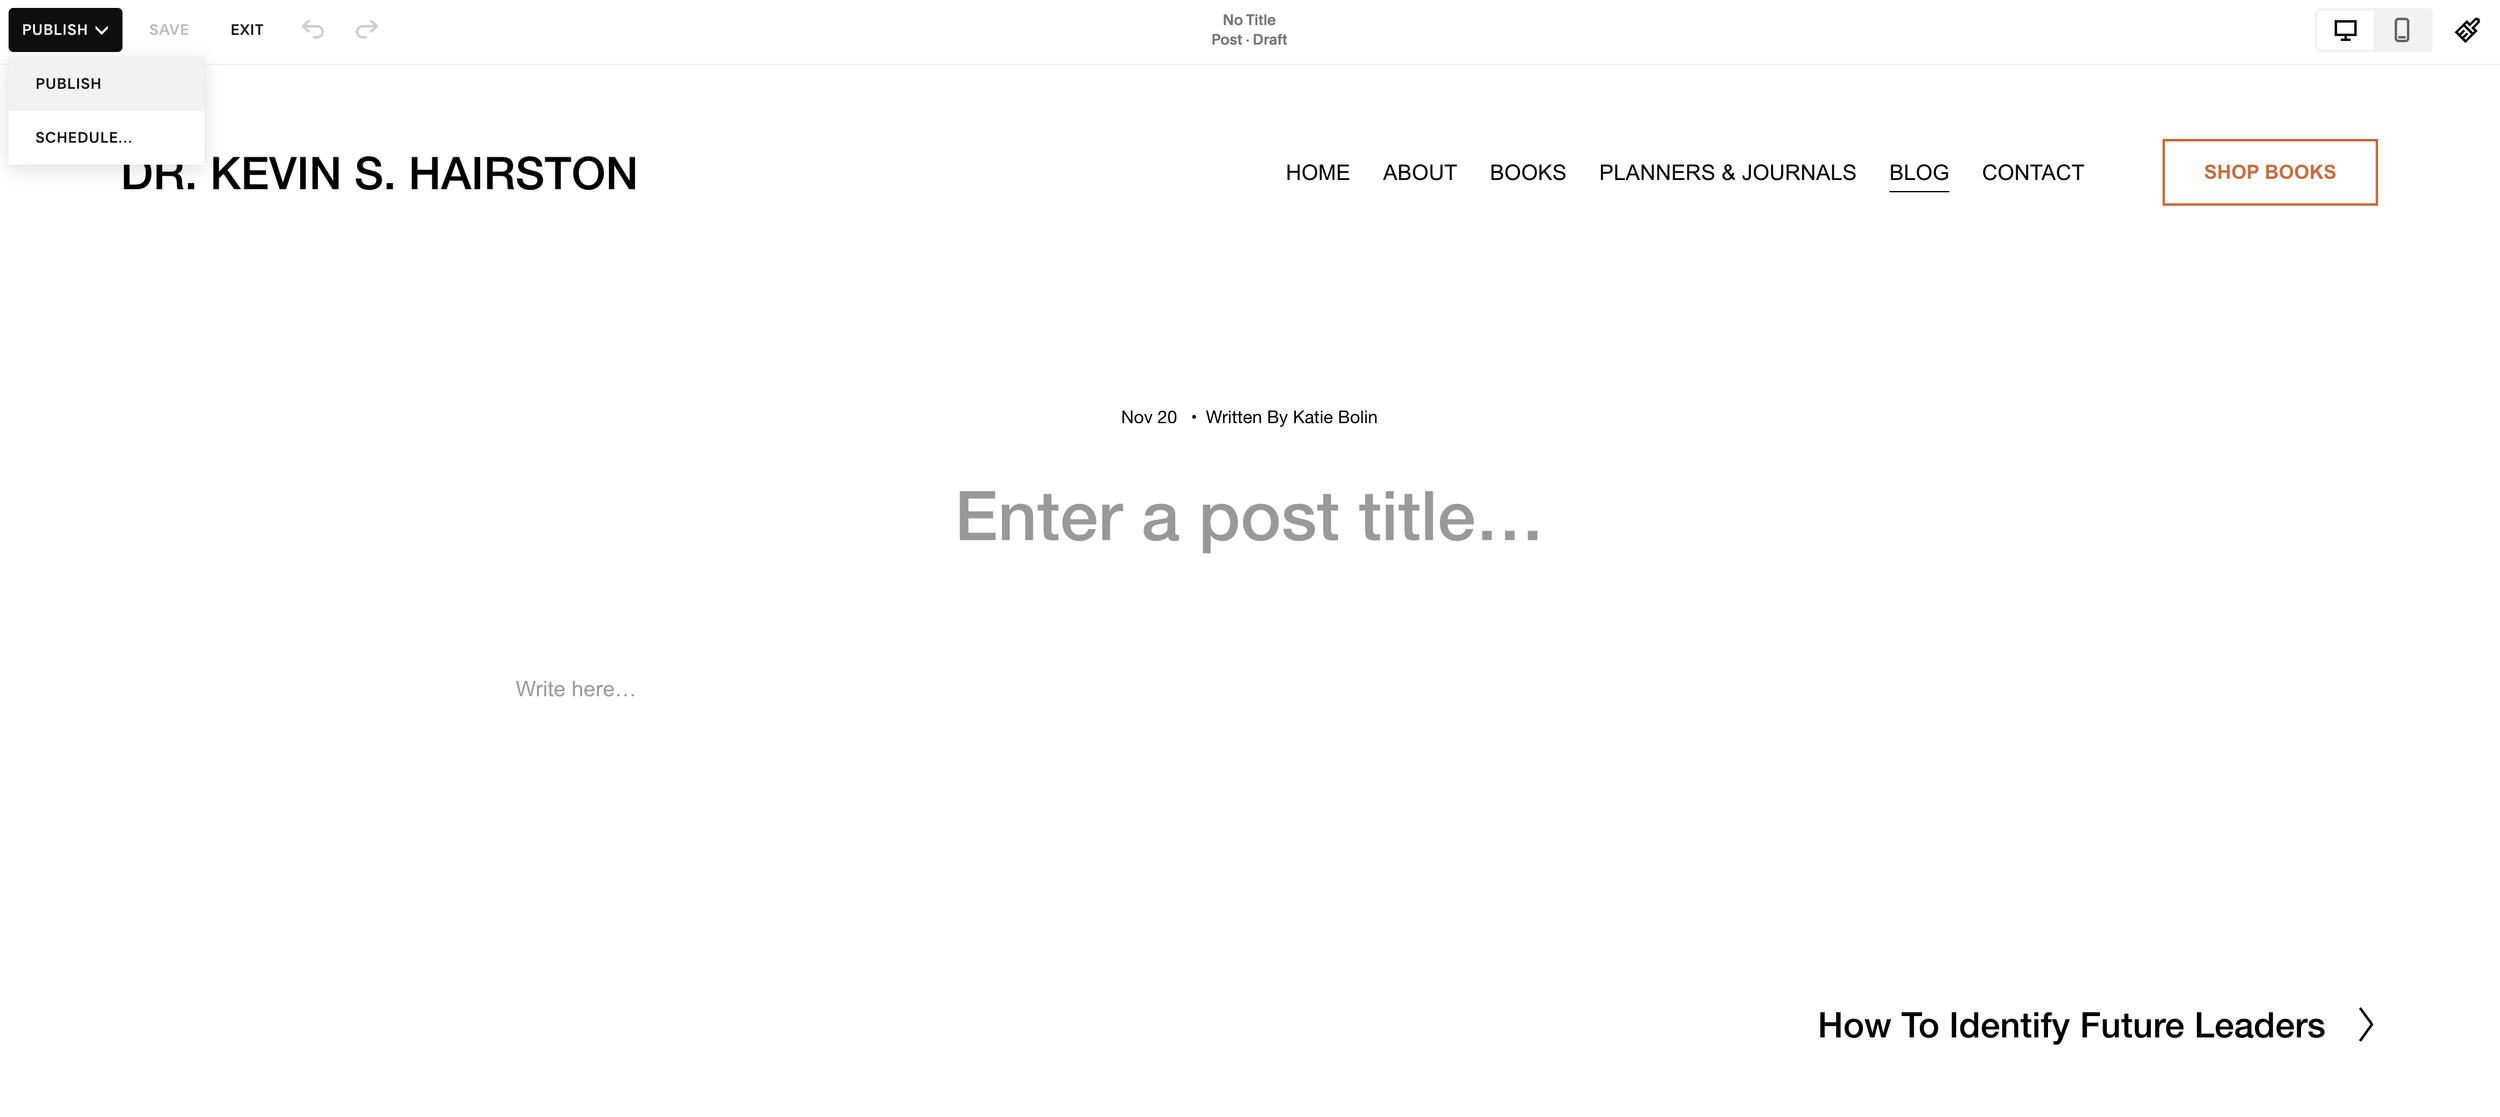
Click back into your blog post from the lefthand menu. Navigate to the top lefthand corner of the editor and select Publish or Schedule.